Moving a WordPress site to a new host is one of those tasks that sounds more technically intimidating than it actually is, and that intimidation keeps a significant number of website owners stuck on hosting that no longer serves them well. The fear of losing content, breaking the site, or causing extended downtime prevents people from making a hosting switch that would improve their site’s performance, reduce their costs, or both — and they absorb the consequences of inadequate hosting indefinitely rather than deal with a migration that, done correctly, takes a few hours and produces zero data loss and minimal downtime.
This guide walks through the complete migration process — from preparing the migration to verifying that everything transferred correctly — in enough detail that a non-technical WordPress site owner can execute it without needing to hire a developer or rely on their new host’s migration service. Where specific tools and plugins are involved, the instructions are precise enough to follow rather than general enough to require additional research.
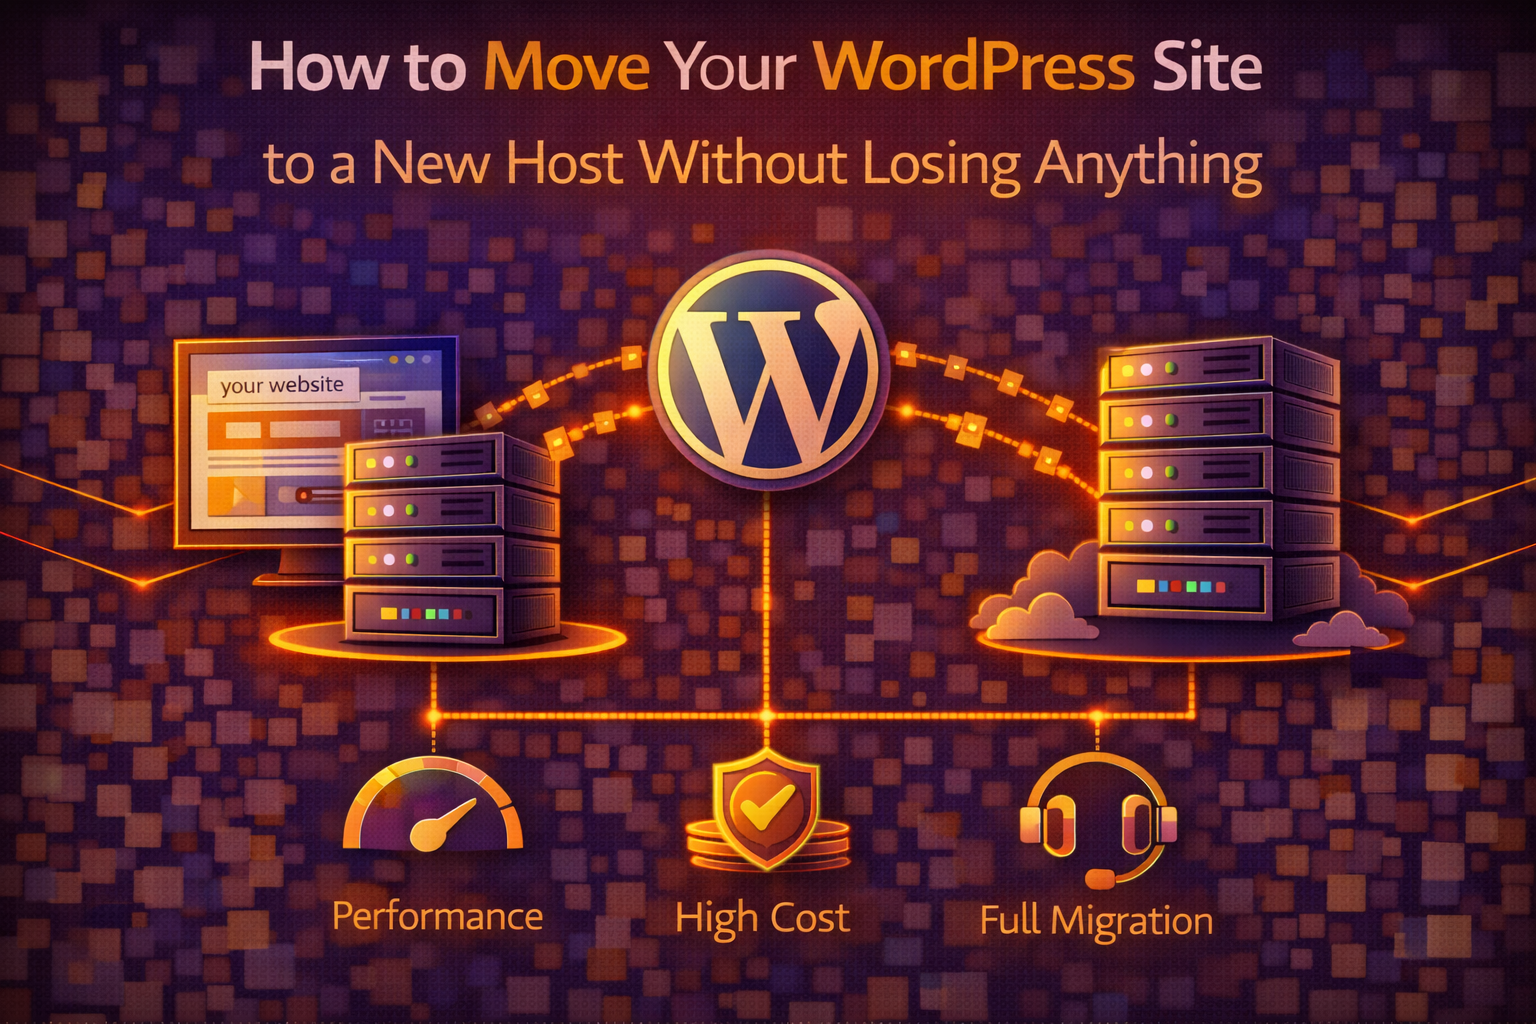
What a WordPress Migration Actually Involves
Before getting into the process, understanding what you’re actually moving eliminates the anxiety that comes from not knowing what could go wrong.
A WordPress site consists of two components that need to transfer together for the migration to be complete. The first is the files — the WordPress core files, your theme files, your plugin files, and the media library containing every image and file you’ve uploaded to the site. The second is the database — the MySQL database that stores your posts, pages, comments, settings, user accounts, and virtually all of the content that makes your site yours rather than a generic WordPress installation.
A successful migration transfers both components completely and reassembles them correctly on the new host so that WordPress can find the database it expects, connect to it with the correct credentials, and serve your site exactly as it appeared on the old host. The things that can go wrong in a migration almost always trace back to one of two problems: incomplete transfer of files or database, or incorrect database connection settings after the transfer. Understanding this means understanding where to look if something isn’t right after the migration.
The other component of a migration is DNS — the domain name system record that tells browsers where to find your website. Changing your DNS to point to the new host is the final step of the migration and the step that makes the switch live. The propagation period — the time it takes for DNS changes to spread across the internet — typically takes between a few minutes and 48 hours, during which some visitors may still be directed to the old host while others reach the new one. Managing this transition correctly prevents the window where your domain points to one host but your content is on another.
Before You Start: The Preparation That Prevents Problems
Preparation before the migration begins is what separates migrations that go smoothly from ones that require troubleshooting. Thirty minutes of preparation prevents hours of recovery.
The first preparation step is creating a complete backup of your current site using a plugin rather than relying on your current host’s backup. UpdraftPlus is the most reliable free backup plugin for this purpose — install it on your current WordPress installation, run a full backup that includes both the files and the database, and download the backup files to your local computer. This backup is your safety net — if anything goes wrong during the migration, you restore from this backup rather than trying to reconstruct what went wrong.
The second preparation step is confirming that your new host is ready to receive the migration. Log into the new hosting account, verify that you can access the control panel, and confirm that WordPress can be installed or that a database can be created manually. Some hosts configure new accounts immediately after signup; others take a few minutes to an hour for account provisioning to complete. Starting the migration before the new account is fully provisioned wastes time and sometimes produces errors that look like migration problems but are actually provisioning delays.
The third preparation step is noting your current site’s configuration details — the database name, database username, and database password from your current host’s control panel, and the WordPress address and site address from your current WordPress settings. These details are useful for troubleshooting if the migration produces database connection errors, and having them written down before you need them saves the scramble of finding them under pressure.
Method 1: Using a Migration Plugin (Recommended for Most Users)
The migration plugin method is the most accessible approach for non-technical users and produces reliable results for the majority of WordPress sites. Duplicator and All-in-One WP Migration are the two plugins worth knowing about — both are free for standard use, both handle the file and database transfer together, and both are maintained well enough to work with current WordPress versions.
All-in-One WP Migration is the simpler of the two for straightforward migrations. Install the plugin on your current WordPress site, navigate to All-in-One WP Migration in the WordPress admin menu, select Export, and choose File as the export destination. The plugin packages your entire WordPress installation — files and database together — into a single archive file that you then import on the new host.
On the new host, install WordPress through the host’s one-click installer, then install All-in-One WP Migration on the fresh WordPress installation. Navigate to All-in-One WP Migration and select Import. Upload the archive file exported from your old site. The plugin overwrites the fresh WordPress installation with your complete site — all content, settings, plugins, themes, and users.
The free version of All-in-One WP Migration has a file size limit for imports — currently 512MB in most implementations — that affects larger sites with extensive media libraries. Sites under this limit can complete the entire migration with the free version. Sites above this limit have two options: purchase the unlimited extension, which removes the size restriction, or use the Duplicator plugin instead, which handles large sites through a different packaging approach without the same size constraint.
Duplicator’s approach creates two files — an archive containing your site’s files and database, and an installer PHP file — that you upload to the new host’s server through the file manager in the hosting control panel rather than through the WordPress admin. The installation process runs through a web browser by navigating to the installer file’s URL on the new host. The process takes about fifteen minutes for a typical site and handles large sites that exceed All-in-One WP Migration’s size limits.
Method 2: Manual Migration (Most Control, Most Steps)
The manual migration method involves transferring the files and database separately rather than using a plugin to package them together. It requires more steps than the plugin method but gives you complete visibility and control over each component of the migration — which is useful for troubleshooting if something goes wrong and for large sites where plugin-based packaging is slow or unreliable.
The file transfer step uses FTP — File Transfer Protocol — to download your WordPress files from the old host and upload them to the new host. FileZilla is the most widely used free FTP client and works identically on Windows and Mac. Connect to your old host using the FTP credentials from your hosting control panel, navigate to the public_html directory (or the directory where your WordPress files are located), and download the entire contents to a folder on your local computer.
While the file transfer is running — it can take anywhere from a few minutes to an hour depending on your media library size and internet connection speed — you can work on the database export in parallel. Access phpMyAdmin through your old host’s control panel, select your WordPress database from the left sidebar, click Export, choose the Quick export method with SQL format, and download the resulting .sql file. This file contains your entire WordPress database — every post, page, comment, and setting.
On the new host, create a new MySQL database through the hosting control panel. Most hosts use cPanel or a similar interface where you navigate to MySQL Databases, create a new database, create a new database user, and assign the user to the database with full privileges. Note the database name, username, and password — you’ll need these in the next step.
Import the database by opening phpMyAdmin on the new host, selecting the new empty database, clicking Import, and uploading the .sql file exported from the old host. The import process populates the new database with all your WordPress content.
Upload the WordPress files to the new host using FileZilla — connect to the new host’s FTP, navigate to the public_html directory, and upload the files downloaded from the old host. Before completing the upload, open the wp-config.php file in a text editor and update the database name, username, and password to match the new database credentials created on the new host. This step — updating wp-config.php with the new database connection details — is the step most often missed in manual migrations and the one that produces the database connection error that breaks the site on the new host.
Updating the Database URL: The Step Most Guides Skip
Both migration methods — plugin and manual — can produce a situation where the WordPress site loads but some elements look broken or links redirect incorrectly. This typically happens because the WordPress database contains the old host’s URL in multiple places, and simply moving the database to the new host doesn’t update those references automatically.
The search-replace step that fixes this uses a tool called Better Search Replace — a WordPress plugin that searches the database for the old URL and replaces it with the new URL. Install Better Search Replace on the migrated WordPress installation, navigate to Tools and then Better Search Replace, enter your old URL in the Search for field and your new URL in the Replace with field, select all database tables, and run the replacement.
If your old and new URLs are identical — which is the case for most migrations where you’re keeping the same domain — this step is unnecessary. If you’re migrating from a temporary URL on the new host to your real domain, or from HTTP to HTTPS, or making any URL change as part of the migration, the search-replace step is essential for the site to function correctly.
The WP-CLI command line alternative for users with SSH access is faster for large databases: wp search-replace 'old-url.com' 'new-url.com' --all-tables. For users without SSH access, the Better Search Replace plugin accomplishes the same result through the WordPress admin interface.
Testing Before Changing DNS
The most important step in the migration process that most guides rush past is thorough testing of the migrated site before changing DNS to point your domain to the new host. Once DNS is changed, visitors are directed to the new host — and discovering a problem after DNS propagates means your live site is broken while you fix it.
Testing the migrated site before DNS changes requires accessing it through a temporary URL or by modifying your local hosts file to preview the new host while your domain still points to the old one. Most hosting providers assign a temporary subdomain or IP address to new accounts specifically for pre-DNS testing — confirm this with your new host before starting the migration.
The testing checklist worth working through before changing DNS covers the homepage loading correctly, internal links navigating to the right pages, images displaying correctly throughout the site, the WordPress admin being accessible and functional, forms submitting correctly and sending notifications to the right email address, and — for WooCommerce stores — the checkout process completing without errors. Each of these checks catches a different category of migration problem before it affects real visitors.
Changing DNS: The Final Step
DNS change instructions vary by where your domain is registered rather than where it’s hosted. Log into your domain registrar account — the service where you purchased the domain, whether that’s Namecheap, GoDaddy, or wherever your domain lives — and update the nameservers to the ones provided by your new host, or update the A record to point to your new host’s IP address.
Nameserver changes — where you replace the old host’s nameservers with the new host’s nameservers — are the simplest approach and the one most hosting providers recommend. The change is made in your domain registrar’s DNS management section and typically takes between a few minutes and a few hours to propagate, though the quoted 48-hour maximum rarely applies in practice.
Keep the old hosting account active for at least 48 hours after changing DNS. During the propagation period, some visitors will still reach the old host, and having it active ensures they see your site rather than an error. After 48 hours, propagation is complete worldwide and the old hosting account can be safely cancelled.
When to Use Your New Host’s Migration Service Instead
Everything described above can be done independently, but the migration services offered by most quality hosting providers are worth considering as an alternative that trades control for convenience.
SiteGround, WP Engine, Kinsta, and Hostinger all offer free migration assistance for new customers — either an automated migration plugin configured for their specific infrastructure or a hands-on migration service where their team handles the transfer. For non-technical users who find the process above overwhelming, these services remove the execution burden entirely.
The trade-off is timing flexibility — hosted migration services schedule migrations rather than allowing you to execute them at a moment that works for your site’s traffic patterns — and transparency, since you have less visibility into what’s happening than when you execute the migration yourself. For most users, the convenience trade-off is worth making. For users who want complete control over the process or who have complex migrations involving multiple sites or databases, the manual approach or plugin approach described above is more appropriate.
→ Related: WordPress.com vs WordPress.org: Which One Is Right for Your Website
→ Also worth reading: The Best WordPress Hosting in 2026 (For Every Budget and Use Case)
In the middle of a migration that’s produced an error you can’t identify, or planning a migration and not sure which method fits your technical comfort level and site size? Leave a comment with the specific situation and we’ll help you work through it.
Leave a Reply